How to Crop Images in Preview on Mac
If you’ve ever used a Mac, you’ve likely encountered Preview.
It’s the preinstalled software on Mac to view and edit photos and PDF files. And honestly, it’s really good, it has all sorts of capabilities!
In this tutorial, I want to teach you how to use Preview to crop images on Mac.
Steps to Crop on Preview
Open the Tool Bar inside of Preview
Once your image or PDF is open inside of Preview, you want to select and open the toolbar. The icon looks like a pen tip, with a circle around it.

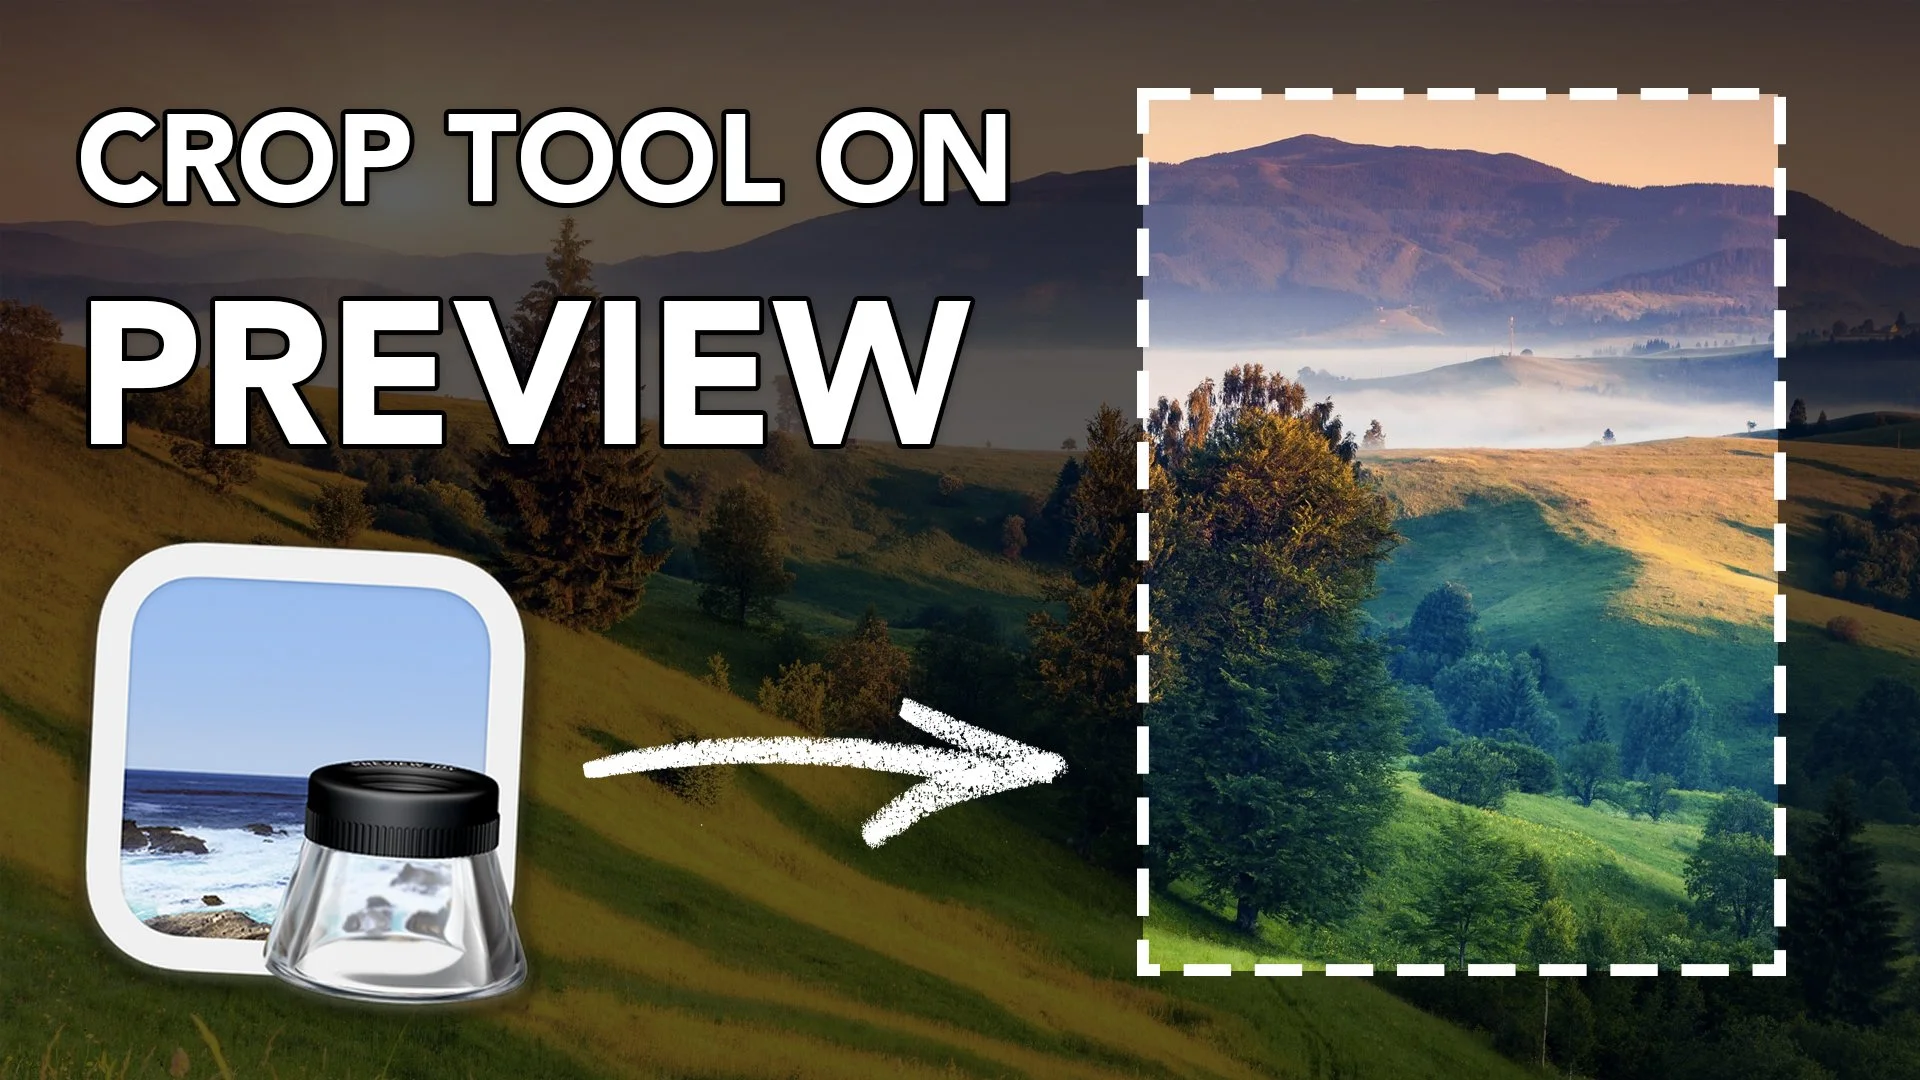
Use the Select Tool
Now use the select area tool (the icon looks like a rectangle with dotted lines) to outline the area you would like to crop the image to.
Crop the Selected Area
Once your area is selected, select the crop button and the image will crop.

Save your Image
Finally you want to save your cropped image, and you will be all set!

Summary
If you still want more help, feel free to watch our video tutorial on how to use the crop tool on Preview!